Showing posts with label Linky Love. Show all posts

February 24, 2011

I Have a Secret

Psssst... I entered one of my blog posts into a little contest...

For those of you not familiar with the blog, The CSI Project, I highly recommend checking it out. It offers all kinds of contests for a million different homemade projects (decorating, design, fashion, food, etc..) and offers prizes to winners. Each week there is a Guest Judge who will decide their favorite project as well as the Top 10 contestants. There is one contest per week!

This week's contest is ... MOLDING! This includes anything from crown molding to bead board to board and batten, and all kinds of decorative trim which are so hot right now.

When you enter the challenge of the week, you enter the link to the specific post on your blog that relates to the project.

Click HERE to view this week's contest and scroll to the bottom to view the project I entered (#38), check out the dozens of other entries that showcase the beautiful use of woodwork, and you can even add your own link if you have a blog and are into that kind of stuff!

Or just click the CSI Project Button below to check out the full website!


Visit thecsiproject.com

Happy Blogging!
Pin It

February 7, 2011

1/2 Bath: Transformation (Almost) Completed

We did it. We got the bathroom (mostly) completed by Super Bowl Sunday for our big party! Yay! There's just a little painting still needed (trim and cutting in at the ceiling) and then all the decor needs to be added. I'll share that with you as soon as it happens. But in the meantime, here are some pictures of the last few details coming together for the bathroom to be functional for the big day!

We left off the last post with the beadboard going up on the walls and the gray paint partially done. It looked something and like this...


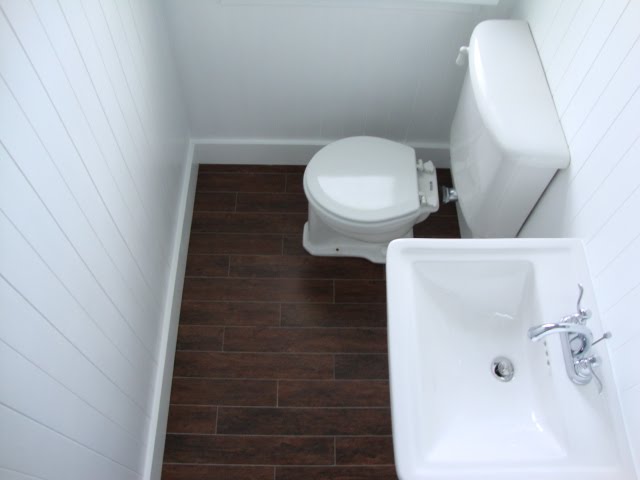
Well, since then, Joey was able to top it off with trim - including the baseboards along the floor (still can't believe that the floor is TILE and not hardwood)...


...crown molding (you can see we need to cut in gray around the crown)...


...and chair rail that runs along the top of the beadboard. Joey had to notch out the back of the chair rail to get it snug against the wall.


And then once Joey had all the nail holes filled, I rolled a coat of glossy white paint over the beadboard and trim to make it looked truly finished.


I also rolled a coat of white paint over the window/door trim and bathroom door, but that still needs 1-2 more coats before it's finished.


Once the coat of paint had dried on the walls, Joey could finally install the bathroom fixtures, including the sink, toilet, light fixture, and mirror.

The toilet was the first to be put in place. Since it is 80+ years old, it was a little tricky getting all the plumbing reconnected. There was a little leakage at first that Joey fixed by putting plumber's paste around the threads of the pipes to seal it in...


We decided to purchase a pedestal sink for the bathroom - mostly due to space constraints. The pedestal sink leaves the space feeling open and larger since you can see more of the floor. I selected a sink with a square design to fit our "square" theme in the room. The sink was purchased from Lowe's and came in 2 parts - the base and the sink basin.


Joey hooked up the faucet to the sink basin before installing it. The delta faucet was also purchased at Lowe's. It has a chrome finish to match the light fixture and other metal details of the room.


Then Joey hooked up the base of the sink and attached the basin to the top.


The finished product is beautiful. I love this sink.


Even the pedestal base has a square shape to it...


The light fixture was then attached to the wall above the sink. The glass globes are square as well as the light base being square. And the metal is polished chrome...


The mirror was also purchased at Lowe's (only $30). The square frame has nice detail and the mirror has a beveled edge. Joey cut the chair rail for the mirror to squeeze in perfectly.


The fine details were add last. I purchased a toilet paper holder and towel bar from Lowe's. Again, they each have a polished chrome finish and a square shape...


The white plate covers went over our new lightswitch (one switch for the light and one for the vent fan) and new outlet.


So, this bathroom is coming together. What a great finished product. I love it all.


As the painting gets completed and the decorating done, I'll post more pictures. But boy am I glad we got this far. BIG change!

BEFORE & AFTER:


Edit: This project has been entered in The CSI Project: Molding Challenge!

Visit thecsiproject.com Pin It

December 15, 2010

DIY: Dining Room Chandelier

Do you remember waaaay back in this post (in like October), when we revealed our new dining room paint color, that I had mentioned the chandelier that was still hanging in the dining room was a project that we would work on later?

Well ... LATER has now arrived!

We strongly considered replacing the chandelier with something new, but in the end, we wanted to keep money in our pockets and decided we'd try to make use of what we had. Plus, I liked the idea of keeping as many original items in the house as possible. After all, this chandelier has probably been hanging since the house was built in 1928.

For your pleasure, here is a reminder of what the chandelier looked like after we finished painting the dining room. It was black and definitely did not fit the look of the room...


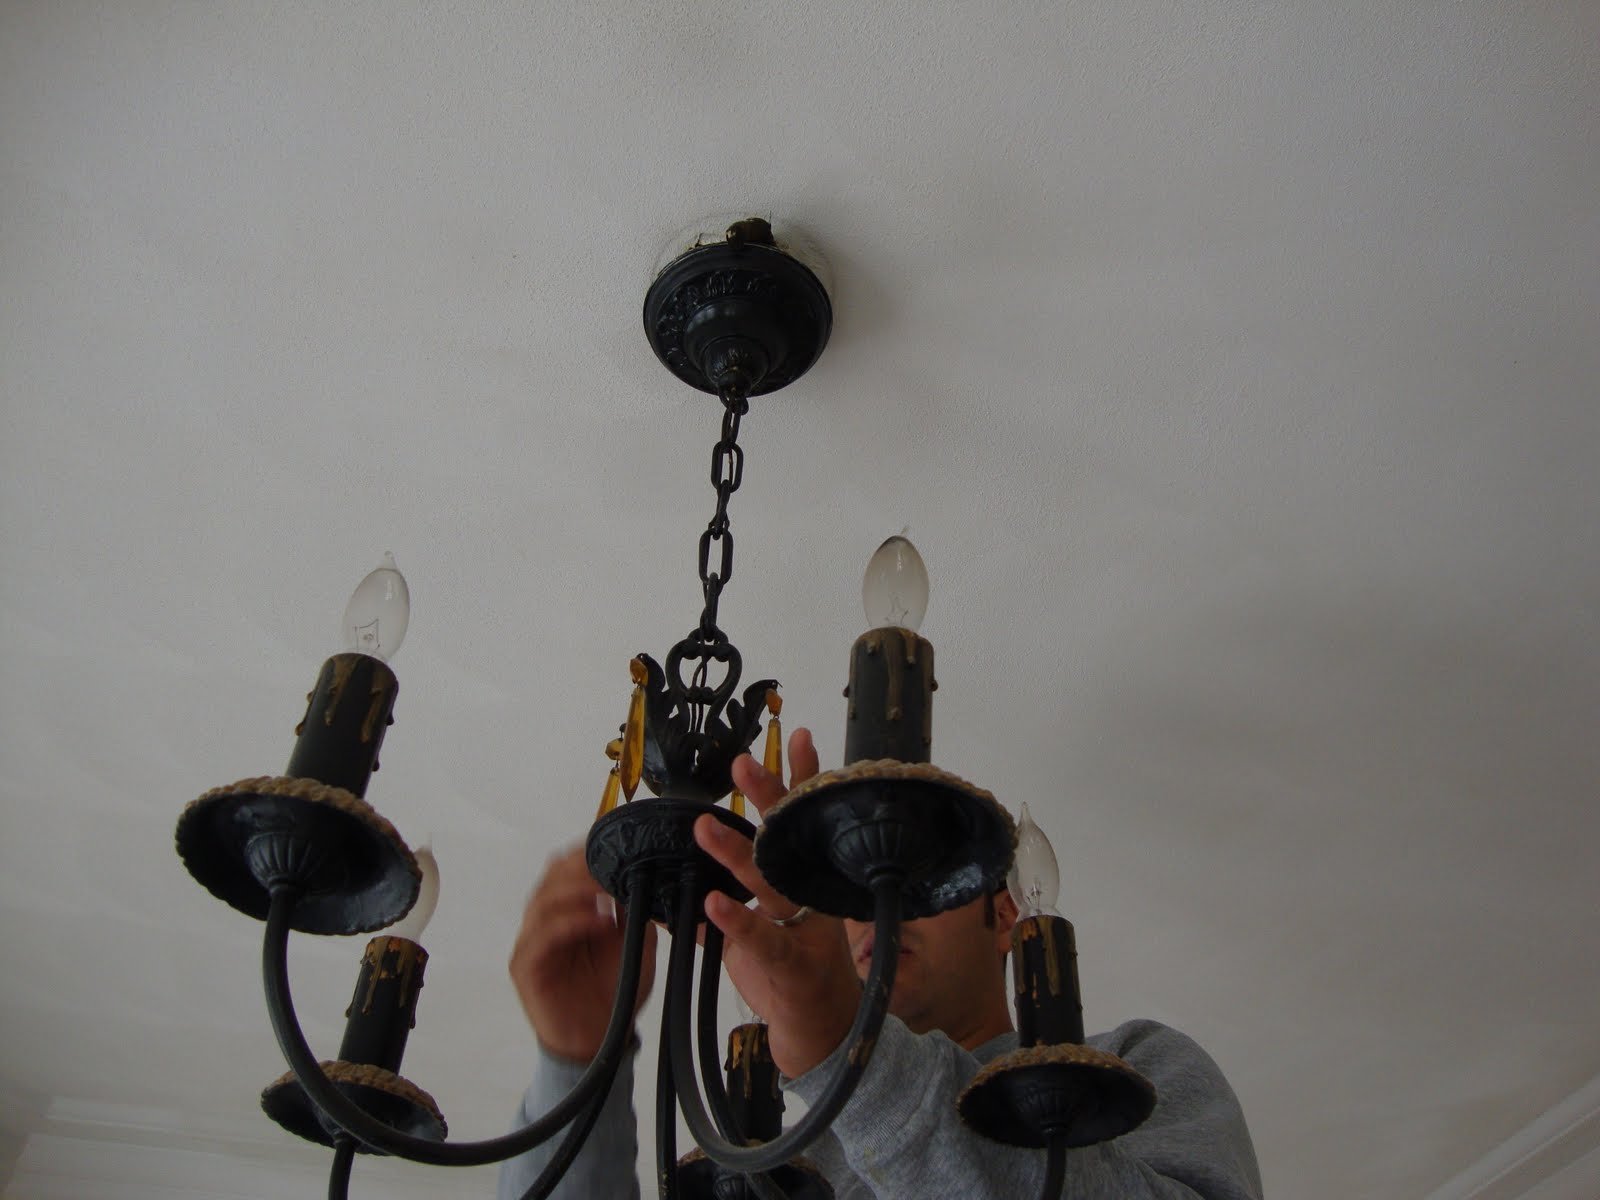
Joey took the chandelier down from the ceiling - very carefully (while I said a prayer that he would not be electrocuted).


Spike inspected the chandelier curiously- wondering what this intruder was doing on the floor (it must be a cat thing)...


As you can see, the chandelier was VERY dusty. Probably hadn't been dusted since, oh, 1973. This black 5 arm chandelier boasts 4 orange crystals hanging from the top along with little "wax drips" going down the "candles".

Black + Orange = Halloween in my book. Not sure why someone wanted a Halloween chandelier... but do you see the all charm underneath???


To bring this light into the 21st century, we decided to spray paint (yes, spray paint) it! We removed the orange crystals and painted the entire thing - chain and all - WHITE! And Joey replaced the little drippy candle things (which cracked under the spray paint) with PVC pipes he cut to size. Then we (i.e. Joey) hung this baby back on the ceiling...


I must admit I oooh'd and aaah'd over the change. And the white finish fits in with all the white trim and details of the room. Plus it really stands out against the dark walls.

And we got this hung just in time for Christmas! So, I decorated it by hanging pretty silver ornaments with ribbon.


Pretty, no?


I'm still trying to decide on 2 items:

  1. Do I want to buy clear crystals (rather than orange crystals) to hang from the top and give it some fancy bling?
  2. Do I want to add shades on top of the light bulbs to soften the glow?

I'll decide on those items after Christmas. For now, I'm enjoying it as is!!!

So, what do you think? BIG change, right? Was it worth keeping our pocket change? I think so!


Edit: This project has been entered in Vintage Revivals' Look What I Found Friday linky party!

Pin It
Visit InfoServe for Blogger backgrounds.