
As mentioned previously, one of the first priorities on the to-do-list was sprucing up the fireplace in our living room. So, on Saturday, we decided to start here.
A few things to mention about the fireplace:
- As far as we know, the entire thing - brick, tile, mantle - are original to the house, built in 1928.
- No upgrades/remodeling/re-doing of any kind has ever been done to change it up.
- While we want to keep some of the original look/charm of the fireplace, we definitely want to make it fit our home circa 2011.
A few things I dislike about the current state of the fireplace:
- The dirty, dingy brown brick
- The brown mosaic tile in front of the fireplace (which now includes a big gap between the tile and hardwood floor because Joey had to cut out part of the hardwood floor that had clearly been damaged by hot coals or ash falling on it).
- The brass fireplace screen that surrounds the opening.
I will admit that I don't have a "final vision" in my mind of how I want the fireplace to look. There are several items I keep changing my mind on. But what I DO know is that I don't want it to stay the same.
So, we decided to start with some basic elements - like demolition - and then we'll feel it out as we go.
And what's the first item we decided to demolish?
The tile... it's ugly. I hate it. I know what I want to put down in place of the current tile. So, we're starting here.

Joey began by putting resin paper down on the floor around the tile to protect the wood flooring. He taped it down with a tape similar to painter's tape.

Next, he had to remove the fireplace screen, which was screwed into the brick in the fireplace.


Once the screen was removed, we could clean out the fireplace - including getting rid of all the wood/cold coals/ash. Do you own a shop vac? If not, I highly recommend one. It will pick up anything!


After vacuuming out the iron log holder and then removing it from the fireplace, he could get to the ash sitting on the floor of the fireplace. This part totally amazed me. I figured he would either shovel it out into a paper bag (that's what my family did growing up) or suck it all up into the shop vac. He did neither.
There was a little trap door in the floor of the fireplace. Joey took it out and set it on the tile, and then swept all the remaining ash into the hole under the door...


Call me totally nutty, but I had NEVER seen this before (which Joey found funny). I had a thousand questions... where does the hole go? Why do you sweep ash into it? Where does the ash go? How do you get it back out? etc etc etc
Does your fireplace have a trap door on the floor???
Joey proceeded to explain that the fireplace actually goes all the way down into the basement. The conversation went something like this...
Joey: Do you remember that brick wall area in the basement?
Katie: What brick wall?
Joey: You know, the wall that's right next to you when you go down the basement stairs? And on the other side of the brick wall is the water heater and furnace.
Katie: There's a brick wall by the basement stairs?
Joey: Well, the wall is actually hollow on the inside and the ash goes down into it.
Katie: (jaw drops to the floor in shock and awe)
Apparently, I'm not very observant.
So, I went downstairs, and sure enough, there was a brick wall. And the water heater and furnace were right beside it. I was stunned.
 Then I found a little trap door toward the bottom with letters that made out words to the effect of "Milwaukee Fireplace" - most of it I couldn't read.
Joey explained that this door is where the ash would be emptied. But if we tried to open it now, it would probably spill out everywhere and create a disaster.

I asked Joey how we were supposed to know when the "hole in the wall" was full, and he explained that he stuck his flashlight down in it and couldn't see anything, which meant it was basically empty and would take a lifetime to fill ... I just took his word for it - still stunned.
I will say, the thought of having ash "sitting in my basement walls" didn't thrill me... you're supposed to get rid of dirt, not trap it inside your house (!) ... but I digress ...
Well, after the ash was swept into the hole and everything vacuumed thoroughly, Joey set the trap door and iron log holder back inside. Then he made a nice straight line with a marker right across the fireplace to mark where he needed to cut out the tile (we decided to leave the tile inside the fireplace as is - so, the original will always be remembered).

He then took a grinder and cut along the line... creating a HORRIBLE DUSTY MESS! There was much cleaning for me to do later.

After that, Joey used a tool -SDS Drill - to break up the tile. Again creating a nice mess.

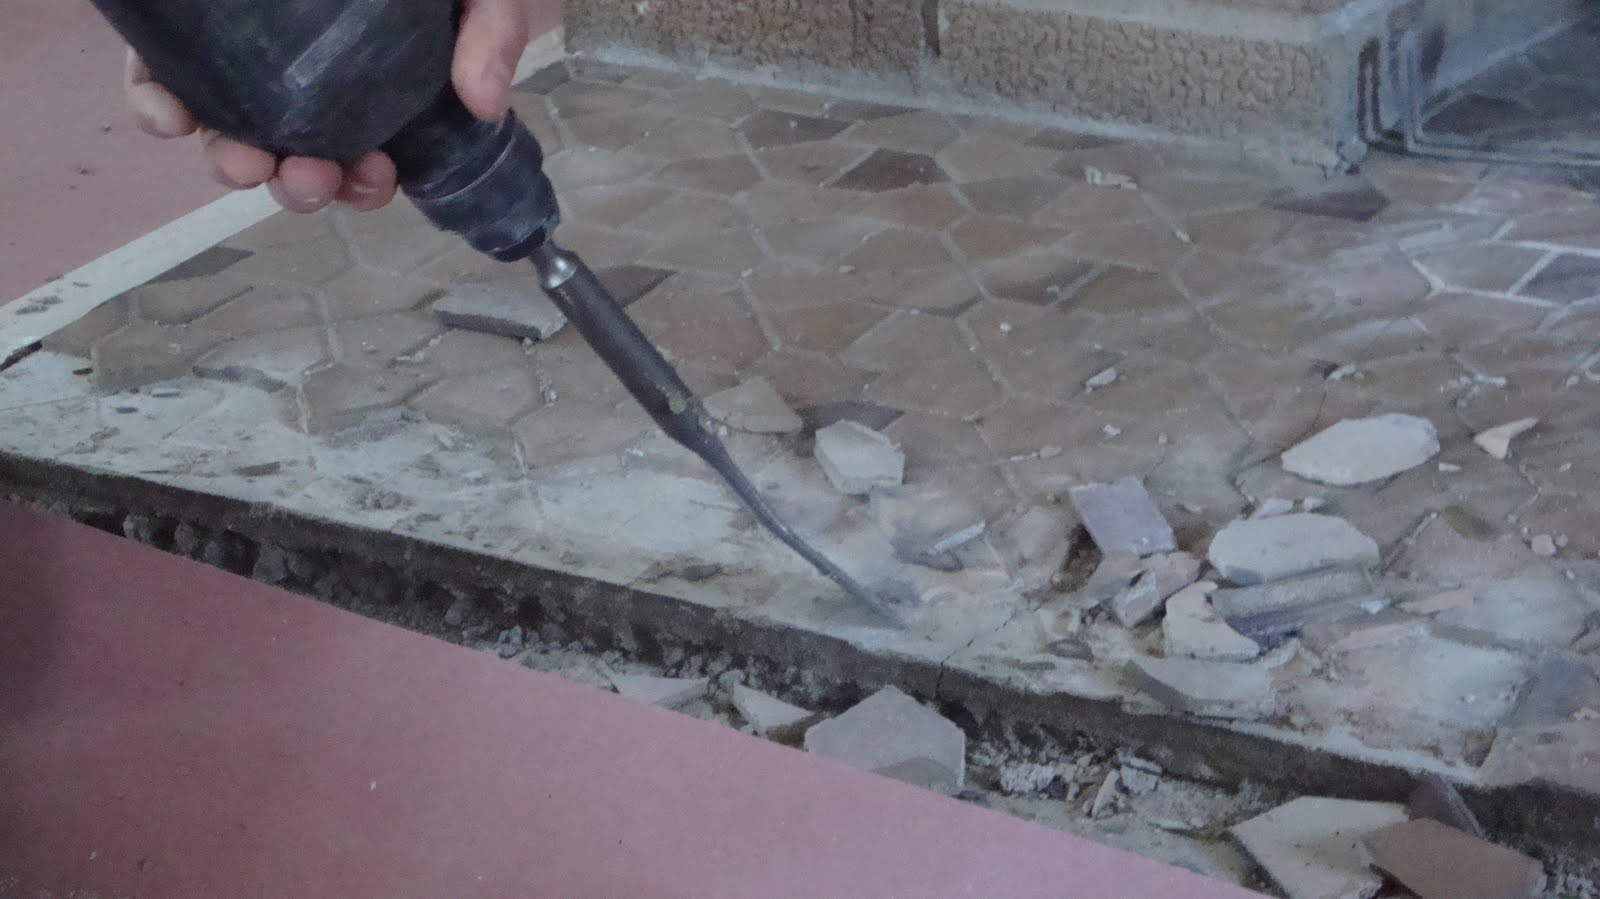
But it worked! And the tile came up nice and easy. Joey swept up the old tile and vacuumed it clean.

Then he used a circular saw with a concrete-cutting blade to cut the durock which had to be put down to fill the gap between the old tile and hardwood floor.

He mortared it and screwed it into place. Nice fit, Joey!

Finally, the fireplace was cleaned up and the resin paper removed.

We now have to wait for the durock bond to dry before the new tile can be put in place. But this was a rock solid start!


I was happy with the progress and learned something new about our old house in the process!
Stay tuned for Phase II of the fireplace re-design!


No comments:
Post a Comment